How to prepare the perfect print on demand image file

Tags
Interested in joining the world's leading print on demand platform?
“Perfect” can be a dangerous word, especially when it comes to creativity. In fact, perfectionism is often referred to as the enemy of creativity because it can mask a fear of judgement and encourage procrastination.
BUT:
When you’ve worked so hard on your designs, it is important to make sure they look perfect on your print on demand products so that you can increase customer satisfaction, brand loyalty, and of course, sales.
So, how do you prepare the perfect print on demand image file?
Depending on the printing equipment and technology used, different print on demand suppliers may have different specifications. It is important to follow these so that your product looks as amazing as it can.
In this article, we’re looking at preparing an image file for Prodigi and we’ll use two scenarios as examples. One focused on illustration and one on photography.
Scenario #1: The illustration
It may seem like an impossible task to take your painting, illustration, or sketch and put it on a product like a t-shirt to start selling. But if you know what to do (and what software to use), it’s very simple! The first step is taking one of your favourite illustrations and then get it into digital format. We’re using this painting for our example:

Straight away, you should be able to see the textures of the paper coming through the colours of this image. If you look closer, this becomes more apparent:

You can also see that the lines are not “computer-generated perfect”. When creating artwork by hand, it doesn’t matter if your lines are a little wiggly – in fact, there’s a charm to it! But when you’re looking to create print on demand products, your images need to be perfect so that they look professional after printing.
To prepare your artwork for printing, the first thing you need to do is scan it to a computer. You can also take a photograph of your artwork, but we recommend scanning because a photograph will only show one perspective of your work. By scanning your illustration, you can upload the entire image onto a computer and it will look almost identical to the hard copy.
Scanning Tips
- For work that is A4 or smaller, you can use an at-home flatbed scanner. For bigger pieces of art, head to your local printing and scanning shop and ask them to scan your image. This will cost you, but you can rest assured that they will do a great job and use a state-of-the-art machine to scan your work.
- Scan at 300 DPI (dots per inch) if possible.
- Remember to clean the glass of your scanner every time you use it. You don’t want to upload your artwork with a dirty smudge on it.
- Try to get the image as straight as you can.
For more information, check out this really helpful article by Art Web.
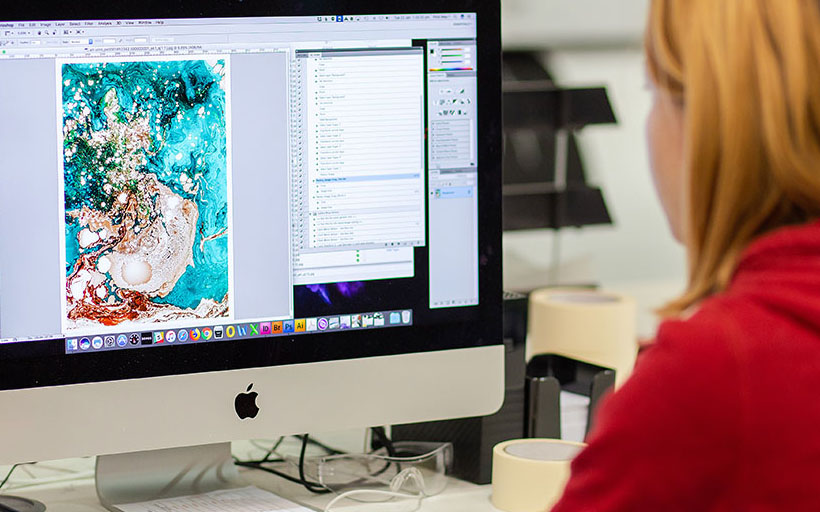
Once your image is digitised and on your computer, it’s time to tidy it up. Open your image in an image-editing software, like Photoshop. Adobe usually offer a free trial of this programme, so it shouldn’t cost you anything to get started.
When you open Photoshop, it should look a little something like this:

Firstly, double-check the DPI is high enough.
DPI stands for “dots per inch”, so when you alter this you are changing the resolution of your image. A high resolution is best for print on demand products, which is why we suggest a DPI of 300 (although 150 is great too if your work doesn’t have fine details).
You can usually pre-select your DPI when scanning. To make adjustments after you have scanned, use Photoshop and head to Image > Image Size:

A pop-up box will appear. Under Resolution, change the number to 300:

For best results it is always better to scan at a high resolution to begin with rather than changing DPI after scanning.
You can also change the colour gamut of your image file to better prepare it for printing. To do this, head to Image > Mode and select RGB.

When creating a print on demand product, like a t-shirt or a mug, it helps if your image has a transparent background. If your image has a background, like the one below, then you can cut your image out very easily using the pen tool.

Use the pen tool to draw around the shape that you want to use. To get to grips with the pen tool, check out this ten minute video: The Pen Tool made EASY.

Once you have cut it out, your selected shape will have its own layer in the bottom right window:

Drag your background layer above the shape layer, like so:

And then head to Layer > Clipping Mask:

This action will leave you with your cut out shape:

The next step is tidying up the lines of your artwork. But before you do this, you need to duplicate and merge your layers:

This is so that you will always be able to come back to your previous version if you need to. To clean up your image, use an Eraser Tool:

After erasing what you need to and tidying up the lines of your image, change the background to a contrasting colour so that you can ensure you’ve cleaned every last detail. You can do this by creating a New Layer:

Then just hit OK:

To change the background, use the Bucket Tool:

We chose to change our background colour to black in order to best see the detail of the artwork:

Once you’re happy with your image, you can delete the new layer to get rid of the background you created. You will be left with your image on a transparent background:

Finally, to ensure that your image retains its transparency, save it as a PNG.


In the top right corner of the save panel, you should see a checkbox labelled Transparency. Ensure that this is checked and then press save.

And there you have it, your very own perfect print on demand image file!
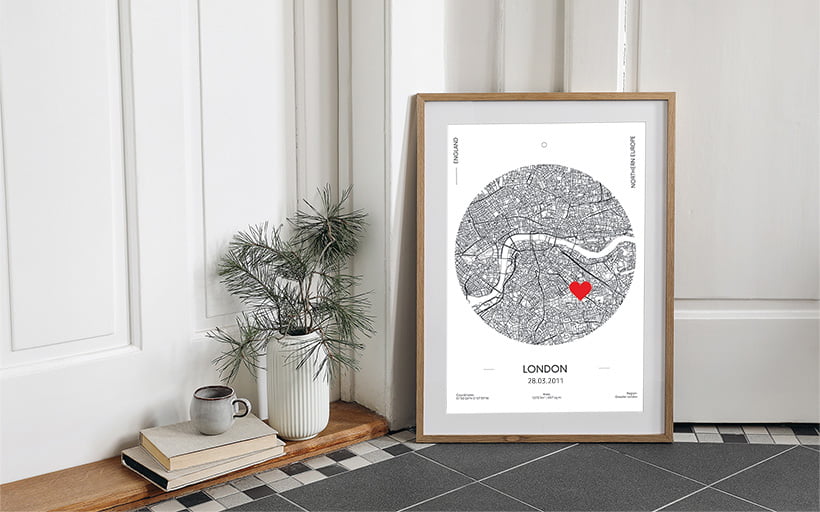
You could have some products like the following up for sale in no time!

Scenario #2: The Photograph
If you’re a photographer, you could be set to generate additional income by creating print on demand products with your photographs. And all you have to do is follow these simple steps…
First, open your chosen photograph in Photoshop:

To alter the resolution, colour gamut and more, go to Image > Image Size. Below you can see the specifications we would recommend. When you’re happy with your choices, hit OK.

You can then start making any adjustments you want to in order to prep your image for your print on demand products. To make adjustments to the brightness, head to Image > Adjustments > Brightness/Contrast:

Play with the toggles until you’re happy with the way the photograph looks:

We decided to make this photograph grayscale. To do that you need to again click on Image > Adjustments and then find Black & White:

You can adjust the colours here if you want to, or just leave them as they are:

When you’re happy, click OK:

We work with a very wide variety of image file formats although our preference is for a maximum quality JPEG (Level 12 on Photoshop) or PNG depending on the product. To save your image, head to File > Save As
Use the drop-down menu and select your chosen file format, then hit Save.
And you’re done.
Good luck!
This article has been designed to help even the computer novice prepare the perfect print on demand image file. So if you’re ever struggling, please feel free to come back to this article and follow the steps outlined.
If you run into any difficulty then our support team are never too far away if you need to talk it through with someone.


